

Introduction
Adding a search feature to a site can range from click of a button easy to weighing the cost benefits of competing cloud-based search providers. Generally, the difficulty of implementing a search feature scales with the amount of data and customization. For custom solutions, cloud-based search providers offer convenience and scalability, but they may not always be the ideal solution for every organization or individual. Depending on the provider’s terms of service, they might retain the right to collect and analyze your search data for their own purposes, which can raise privacy concerns.
Another potential drawback of cloud-based search providers is having a dependency on external infrastructure. If the service experiences downtime it can disrupt your ability to search effectively. Moreover, the cost of using cloud-based services can quickly add up as you will likely have to pay for both the data storage and the processing power needed for your searches. To avoid these issues we will be implementing an in-memory search engine which, while it does have some drawbacks notably around scalability, is ideal for smaller sites. It also has lower costs since the processing is done by visitors’ browsers and not a standalone service that needs to always be running.
Create a Basic Next.js Site
Let’s start off with creating a basic Next.js app using the CLI tool with default settings (TypeScript, Tailwind, ESLint, etc.). Verify it boots first with yarn dev and that it is available at http://localhost:3000 before proceeding. Update the src/app/globals.css file to replace the default gradient with a simple black and white color scheme.
@tailwind base;
@tailwind components;
@tailwind utilities;

:root {
  --foreground-rgb: 0, 0, 0;
  --background-rgb: 255, 255, 255;
}

@media (prefers-color-scheme: dark) {
  :root {
    --foreground-rgb: 255, 255, 255;
    --background-rgb: 0, 0, 0;
  }
}

body {
  color: rgb(var(--foreground-rgb));
  background-color: rgb(var(--background-rgb));
}
Next, edit the src/app/layout.tsx file to update the Metadata object.
export const metadata: Metadata = {
  title: 'Amazing ebooks',
  description: 'Read classic novels and texts for free',
}
Then update the src/app/page.tsx to replace the generated home page with something simpler.
export default function Home() {
  return (
    <main className="flex min-h-screen flex-col items-center justify-between p-24">
      <div className='my-auto'>
        <h1 className="text-xl py-12">
        My ebooks
        </h1>
      </div>
    </main>
  )
}
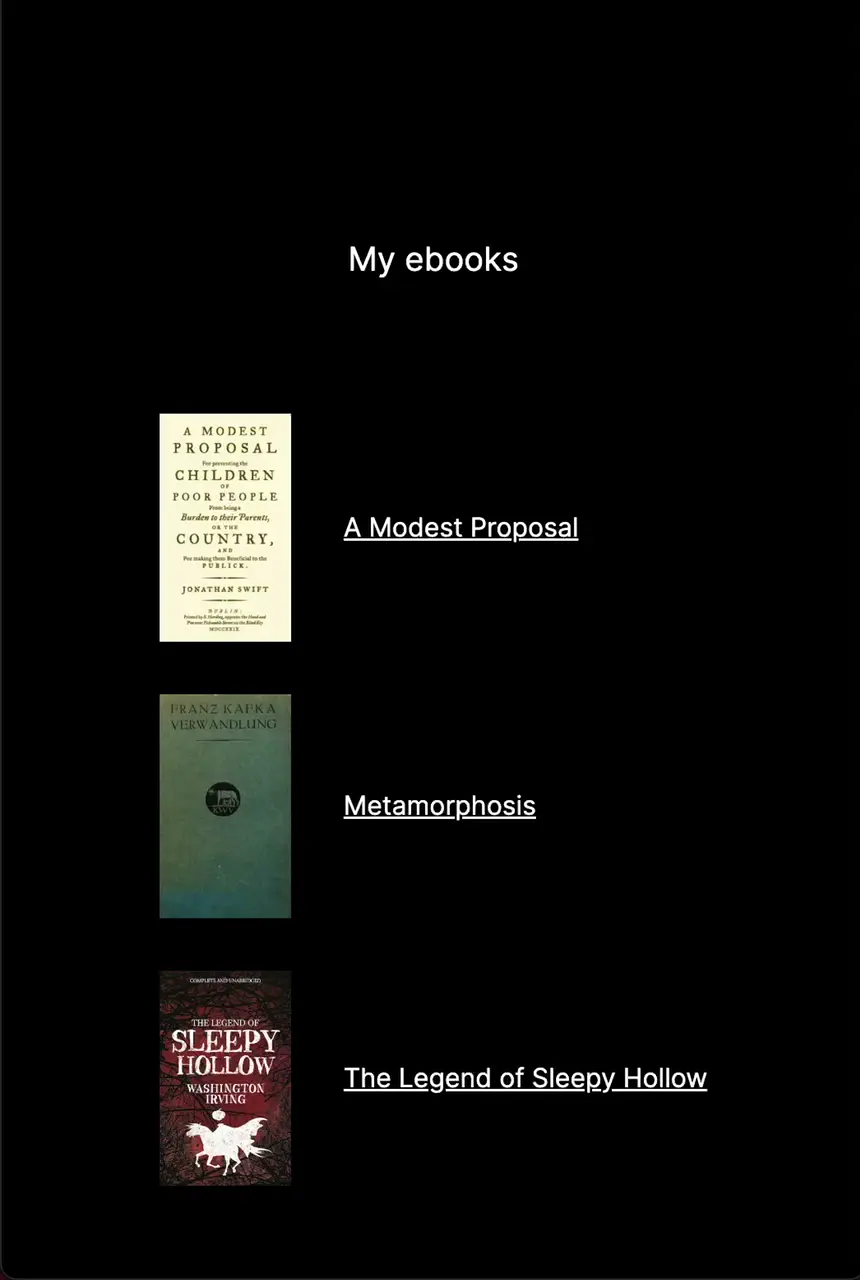
You should see a very basic web page that simply says My ebooks. Let’s get to adding some ebooks.
Add Ebooks
We will build the remainder of this site out as a static site or SSG in Next.js lingo. Let’s first choose some ebooks for our site and settle on a structure to represent them. We will make use of Project Gutenburg for sourcing our ebooks. I’ve chosen three titles, A Modest Proposal, Metamorphosis and The Legend of Sleepy Hollow but you are free to choose your own.
Let’s grab the text and images and structure them in a way that makes sense.
│ /books
├─ books.json
├─ a-modest-proposal.txt
├─ metamorphosis.txt
├─ the-legend-of-sleepy-hollow.txt
│ /public
├─ /books
├── a-modest-proposal.jpg
├── metamorphosis.jpg
└── the-legend-of-sleepy-hollow.jpg
In the root of our application we have a books directory which contains the raw texts as well as a JSON file that contains meta information about the books. In our public directory, we have a books subdirectory which hosts the images of the book covers. The books.json file has the following structure.
[
  {
    "title": "A Modest Proposal",
    "author": "Johnathan Swift",
    "slug": "a-modest-proposal"
  },
  {
    "title": "Metamorphosis",
    "author": "Franz Kafka",
    "slug": "metamorphosis"
  },
  {
    "title": "The Legend of Sleepy Hollow",
    "author": "Washington Irving",
    "slug": "the-legend-of-sleepy-hollow"
  }
]
Let’s create a _utilities directory in src/app. The directory is prefixed with an underscore to avoid it being publicly accessible. Under _utilities, create a books.tsx file.
import path from 'path'
import { readFile } from 'fs/promises'

export class Book {
  title: string
  author: string
  slug: string
  cover: string

  constructor(title: string, author: string, slug: string) {
    this.title = title
    this.author = author
    this.slug = slug
    this.cover = `/books/${slug}.jpg`
  }
}

export const getBooks = async (): Promise<Array<Book>> => {
  const jsonFile = path.join(process.cwd(), 'books', 'books.json')
  const data = JSON.parse(await readFile(jsonFile, 'utf8'))
  const books = (data as Array<any>).map(
    (object: any) => new Book(object.title, object.author, object.slug)
  )

  return books
}

export const findBook = async (slug: string): Promise<Book | undefined> => {
  return (await getBooks()).find((book: Book) => book.slug === slug)
}

export const getContent = async (slug: string): Promise<string> => {
  const file = path.join(process.cwd(), 'books', `${slug}.txt`)
  return await readFile(file, 'utf8')
}
With our Book class and the accompanying methods in place we can get a listing of our books, find a book and return its contents. Let’s implement the code required to expose these in our app. First, modify our home page at src/app/page.tsx to show a list of books available.
import Link from 'next/link'
import Image from 'next/image'
import { Book, getBooks } from './_utilities/books'

export default async function Home() {
  const books = await getBooks()

  return (
    <main className="flex min-h-screen flex-col items-center justify-between p-24">
      <h1 className="text-xl py-12">My ebooks</h1>
      <ul className="mx-auto">
        {books.map((book: Book) => (
          <li key={book.slug} className="my-8">
            <div className="flex">
              <Image src={book.cover} width={80} height={80} alt={book.title} />
              <Link href={`/${book.slug}`} className="underline my-auto ml-8">
                {book.title}
              </Link>
            </div>
          </li>
        ))}
      </ul>
    </main>
  )
}
If you were to refresh your home page you’d now see a listing of books however clicking on any of them would result in a 404/Not Found. Let’s rectify that by creating a new directory at src/app/[slug]. Those brackets are not a mistake, in fact they are required so that Next.js knows we are building a dynamic route. Within that new directory, create a filed called page.tsx and add the following code.
import Image from 'next/image'
import { notFound } from 'next/navigation'
import {
  Book,
  findBook,
  getBooks,
  getContent
} from '../_utilities/books'

interface PageProps {
  params: { slug: string }
}

export async function generateStaticParams() {
  const books = await getBooks()

  return books.map((book: Book) => ({
    slug: book.slug,
  }))
}

export default async function Page(props: PageProps) {
  const slug = props.params.slug
  const book = await findBook(slug)
  const body = await getContent(slug)

  if (!book || !body) {
    notFound()
  }

  return (
    <>
      <h1 className="my-10 text-center text-xl">{book.title}</h1>
      <Image
        src={book.cover}
        width={200}
        height={200}
        alt={book.title}
        className="mx-auto"
      />
      <h1 className="mt-8 text-center text-xl">By {book.author}</h1>
      {body.split('\n').map((text: string, index: number) => (
        <p key={index} className="mx-10 my-8">
          {text}
        </p>
      ))}
    </>
  )
}
The key function in this file is generateStaticParams which tells Next.js how to find all the possible dynamic routes and generate them. Each book, or slug, is then passed to the Page function which renders it. Now when refreshing the page you should be able to click a book in the list and see the text of that book rendered.
Add Search Capabilities
For searching our books we are going to use a library called MiniSearch so go ahead and add that using yarn add minisearch or your preferred package manager. But before we can start using it we need to provide a means of ingesting our book content. We don’t want to search the entire book’s text in one go but rather search it section by section. This will allow us to display the surrounding paragraph of the search results providing important context for our users.
Open the src/app/_utilities/books.tsx file and add the following code. You’ll need to update your imports as well.
export class Document {
  id: string
  title: string
  slug: string
  text: string

  constructor(title: string, slug: string, text: string) {
    this.id = randomUUID()
    this.title = title
    this.slug = slug
    this.text = text
  }
}

export const generateSearchDocuments = async (books: Book[]) => {
  const outputPath = `${process.cwd()}/public/documents.json`

  const documents = (
    await Promise.all(
      books.map(async (book: Book) =>
        (await getContent(book.slug))
          .split('\n')
          .map((text: string) => new Document(book.title, book.slug, text))
      )
    )
  ).flat()

  await writeFile(outputPath, JSON.stringify(documents))
}
Each Document corresponds to a paragraph of text in a book. A randomly generated id is attached to each one to ensure they can be uniquely identified. When we run this function, the results are saved to a new file, public/documents.json, which can be downloaded by a browser and will serve as our database of documents. Let’s update the code in the generateStaticParams() function located in src/app/[slug]/page.tsx by making use of our new function.
export async function generateStaticParams() {
  …
  await generateSearchDocuments(books)
  …
}
We need to add a React component that can download this documents.json, search it and visualize the results. If it doesn’t exist already, create a src/components directory. This is where all shared components will live. Ours will be a client component meaning it will be rendered only on the client and not during an SSG build phase. This is done thru the use of use client at the top of the file and is important because it tells Next.js the limits of what it can access.
Under src/components create a new file called search.tsx and add the following code.
'use client'

import { useEffect, useState, useMemo } from 'react'
import MiniSearch from 'minisearch'
import { createRoot } from 'react-dom/client'

export const Search = ({
  placeholder = 'Search books…',
  className,
}: {
  placeholder?: string
  className?: string
}) => {
  // Placeholder, add’l code will be added here
  return (< />)
}
The optional arguments to Search allow a developer to customize the placeholder text as well as the top level styling. Let’s keep adding to this with all new code being added before the return statement.
The code shown below sets up the MiniSearch object that will do the heavy lifting of searching our books. We are only searching the title and text fields but if you wanted to search by author too you’d need only add that field. Once the page is loaded we rely on a useEffect to download the JSON file containing our books and load it into our MiniSearch object. The score and slug fields are specified in storeFields because we can use these when rendering results. The score can be used to rank results while the slug is required to link to the book result.
const fields = ['title', 'text']
const search = useMemo(
  () =>
    new MiniSearch({
      fields,
      storeFields: [...fields, 'score', 'slug'],
    }),
  fields // eslint-disable-line react-hooks/exhaustive-deps
)

useEffect(() => {
  fetch('/documents.json')
    .then((response) => response.json())
    .then((data) => {
      if (search.documentCount > 0) {
        return
      }

      search.addAll(data)
    })
}, [search])
Our search results will be attached to an HTML node with the id search-results. Before we can attach them we need to find it and store a reference to it.
const [searchResultNode, setSearchResultNode] = useState<
  HTMLElement | undefined
>(undefined)

useEffect(() => {
  setSearchResultNode(document.getElementById('search-results')!)
}, [])
Search results will need to be hidden when a user clicks anywhere else on a page.
const [hideSearchResults, setHideSearchResults] = useState(true)
useEffect(() => {
  document.body.addEventListener('click', () => {
    setHideSearchResults(true)
  })
}, [])
We are now ready to create the function that searches our collection of documents and renders the results.
const searchDocuments = (query: string) => {
  if (!searchResultNode) {
    return
  }

  if (query.length < 3) {
    setHideSearchResults(true)
    return
  }

  const results = search
    .search(query)
    ?.slice(0, 5) // show a max of 5 search results

  if (results.length < 1) {
    setHideSearchResults(true)
    return
  }

  setHideSearchResults(false)
  const node = document.createElement('div')
  const root = createRoot(node)

  root.render(
    <>
      {results.map((result) => {
        if (!result) {
          return
        }

        return <p key={result.id}><a href={`/${result.slug}`}>{result.title}</a></p>
      })}
    </>
  )

  searchResultNode.replaceChildren(node)
}
This basic functionality provides us the ability to search our document collection and return the title of the book where the search result was found. Note that the search result might be the title itself since we added that to the fields to search. So a search for modest would return a search result for A Modest Proposal while also returning results from any other books that had a paragraph containing that same word. Here is what that search result object looks like. You’ll note that the match object contains different values for each result.
[
  {
    "id": "a1a803ac-d390-49b1-95cb-39c91e06189b",
    "score": 6.318774088997232,
    "terms": ["modest"],
    "match": {
      "modest": ["text"]
    },
    "title": "Metamorphosis",
    "text": "… lot of text …",
    "slug": "metamorphosis"
  },
  {
    "id": "478d82c6-162e-4fa2-886f-bd5e58f9b9e9",
    "score": 2.797271364019687,
    "terms": ["modest"],
    "match": {
      "modest": ["title"]
    },
    "title": "A Modest Proposal",
    "text": "… lots of text …",
    "slug": "a-modest-proposal"
  }
]
Now we need to give our users a way to interact with our search function. Replace the return statement with the following code.
return (
  <div className={className ?? ''}>
    <div className="flex flex-col">
      <div className="relative">
        <input
          type="search"
          id="default-search"
          className="block w-full pl-10 py-[7px] text-sm text-gray-900 border border-gray-300 rounded-lg bg-gray-50 focus:ring-blue-500 focus:border-blue-500 dark:bg-gray-800 dark:border-gray-600 dark:placeholder-gray-400 dark:text-white dark:focus:ring-blue-500 dark:focus:border-blue-500"
          placeholder={placeholder}
          autoComplete="off"
          onInput={(event: React.ChangeEvent<HTMLInputElement>) =>
            searchDocuments(event.target.value)
          }
        />
      </div>
      <div className="z-10 relative">
        <div
          id="search-results"
          className={`${
            hideSearchResults ? 'hidden' : ''
          } max-h-[80vh] overflow-auto w-full absolute top-0 left-0 flex flex-col py-2 px-2 rounded-lg border bg-gray-100 dark:text-white dark:bg-gray-900 dark:border-gray-400`}
        ></div>
      </div>
    </div>
  </div>
)
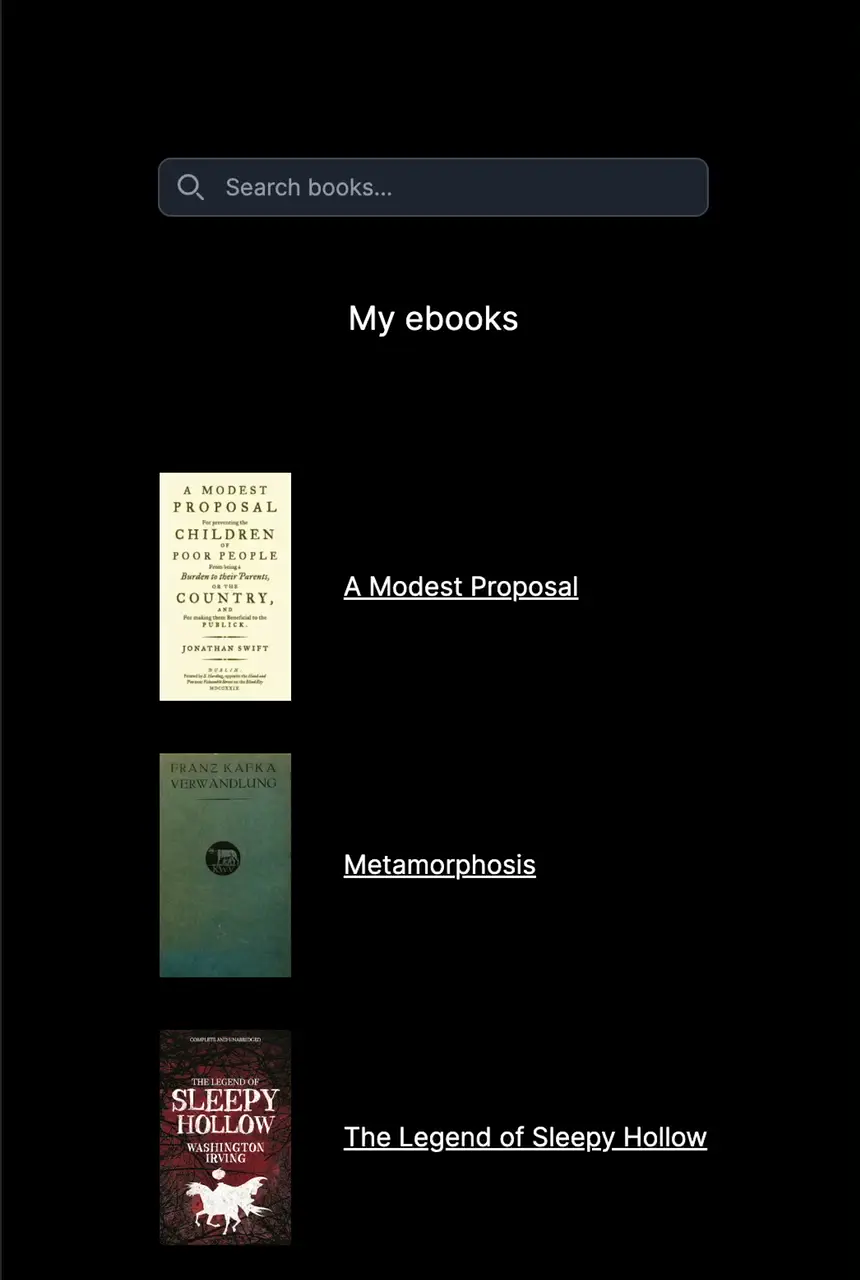
We still have one more task to complete. In src/app/page.tsx we need to reference this new Search component we’ve created. We also add a Suspense tag which is helpful in telling Next.js where our client/server boundary is.
import { Search } from '@/components/search'
import { Suspense } from 'react'
…
  return (
    <main className="flex min-h-screen flex-col items-center justify-between p-24">
      <Suspense>
        <Search className="w-full md:w-1/2" />
      </Suspense>

      <h1 className="text-xl py-12">My ebooks</h1>
…
With a full reload of our page there should now be a search box showing that responds to a user’s input and shows a list of search results.
Enhancements
The UI as built is very bare bones which is why I’ve gone ahead and created an enhanced version that delineates between different search result types and groups text search results under their appropriate book title. It is also system appearance responsive, aka dark mode, and can update the UI without a page reload. You can find those components here and the required search utilities here. A full summary of the code required to create this search functionality can be found here. Below is an example of it in action.
MiniSearch is an incredibly powerful tool and has additional options not explored here such as autosuggest and custom tokenization. Check out the full API documentation to see how with a few tweaks it might better fit your needs.
Finally, if you’re looking for a real-world use case of this code, look no further than this blog’s search functionality which as of this writing is powered by MiniSearch. The implementation uses the same core concepts discussed in this entry.